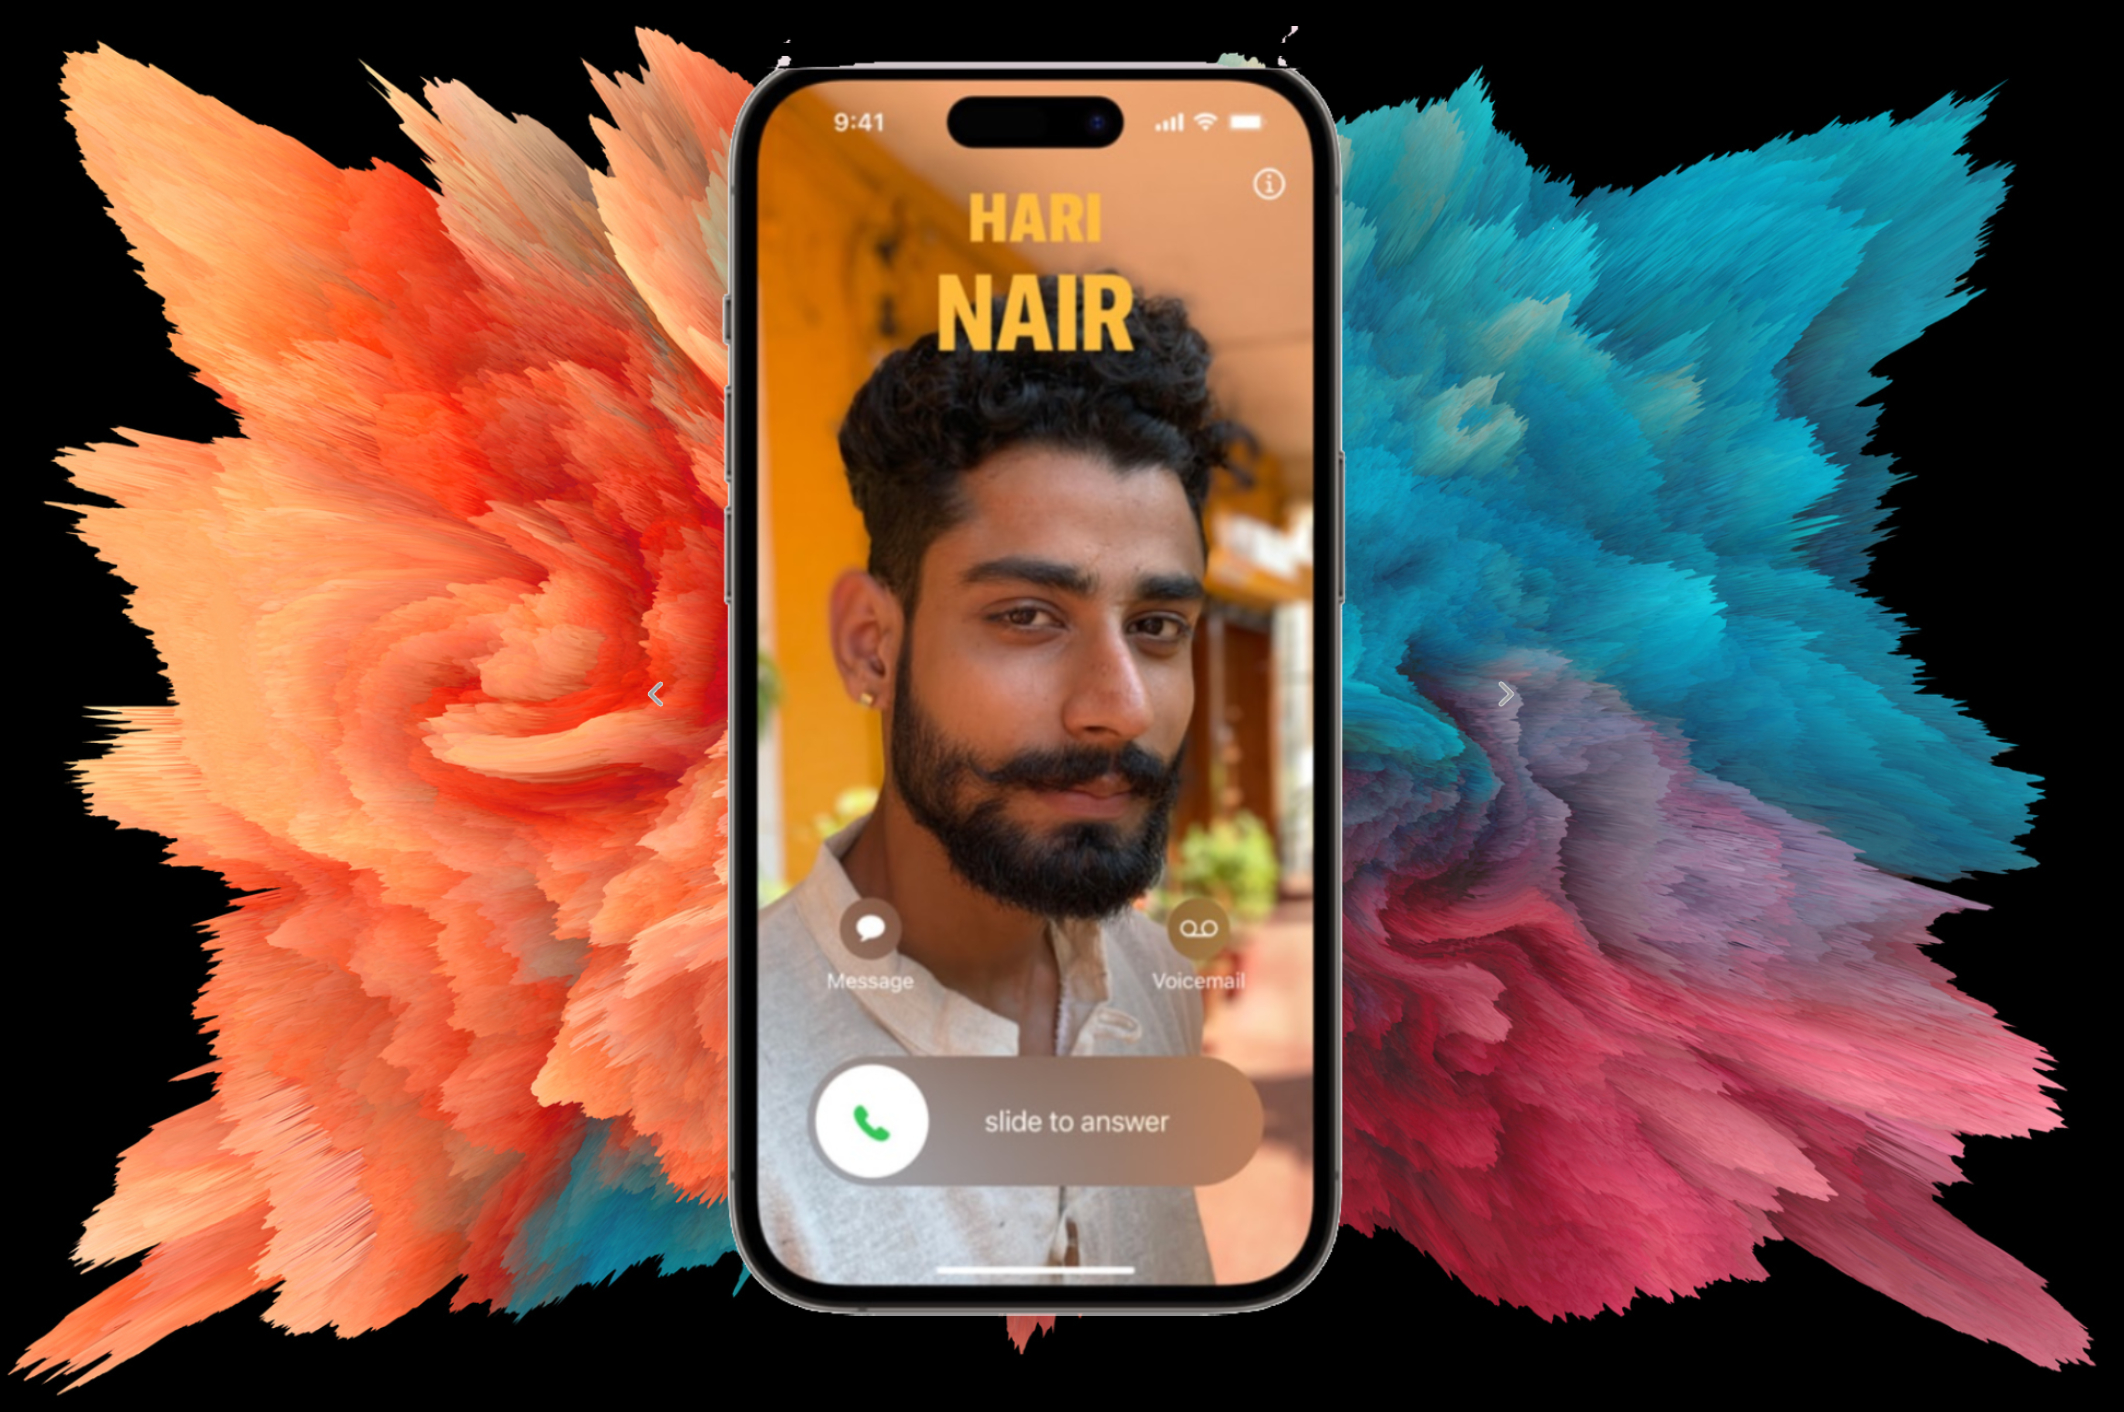
Wondering how to make a Contact Poster in iOS 17? I don’t blame you! They’re one of the hottest new features rolling out to your iPhone soon with the release of iOS 17. This perk lets you customize what people see on their display when you call them.
Allow me to show you what I did to make my own Contact Poster. Of course, you’ll need iOS 17 first (and it’s technically not out yet). However, you can still access the new Contact Poster feature via the iOS 17 developer beta, but keep in mind that this update is neither polished nor refined, so you may experience some bugginess. (Here’s our guide on how to install the iOS 17 developer beta — install with caution — if you instantly regret everything, here’s how to downgrade iOS 17 to 16.)
Unfortunately, users of the iOS 17 developer beta are not allowed to publish screenshots, but I’ll try my best to make it easy for you to follow along.
How to make a Contact Poster in iOS 17
1. The first thing I did was open the Phone app.
2. Next, I made sure that I was on the Contacts tab before clicking on My Card.
3. I tapped on Contact Photo & Poster.
4. I put my first and last name and toggled on Name & Photo Sharing.
5. Next, I hit the Edit button followed by Customize.
6. I tapped on Poster.
7. Next, I hit Photos and searched for my desired selfie. Once I found it, I tapped on it.
8. This part is very familiar if you’ve ever set up your lock screen wallpaper on iOS. Here, you can swipe left to choose between four filters: Natural, Black and White, Duo Tone or Color Wash. I decided to go for DuoTone.
9. Next, I wanted to change the font of my name, so I tapped on it and chose a one of the four font options. I also decided to choose an gradient-esque color for my name.
10. I hit Done followed by Continue and Update. And voila, my Contact Poster has been created.
Source link
 notebook.co.id informasi dan review notebook laptop tablet dan pc