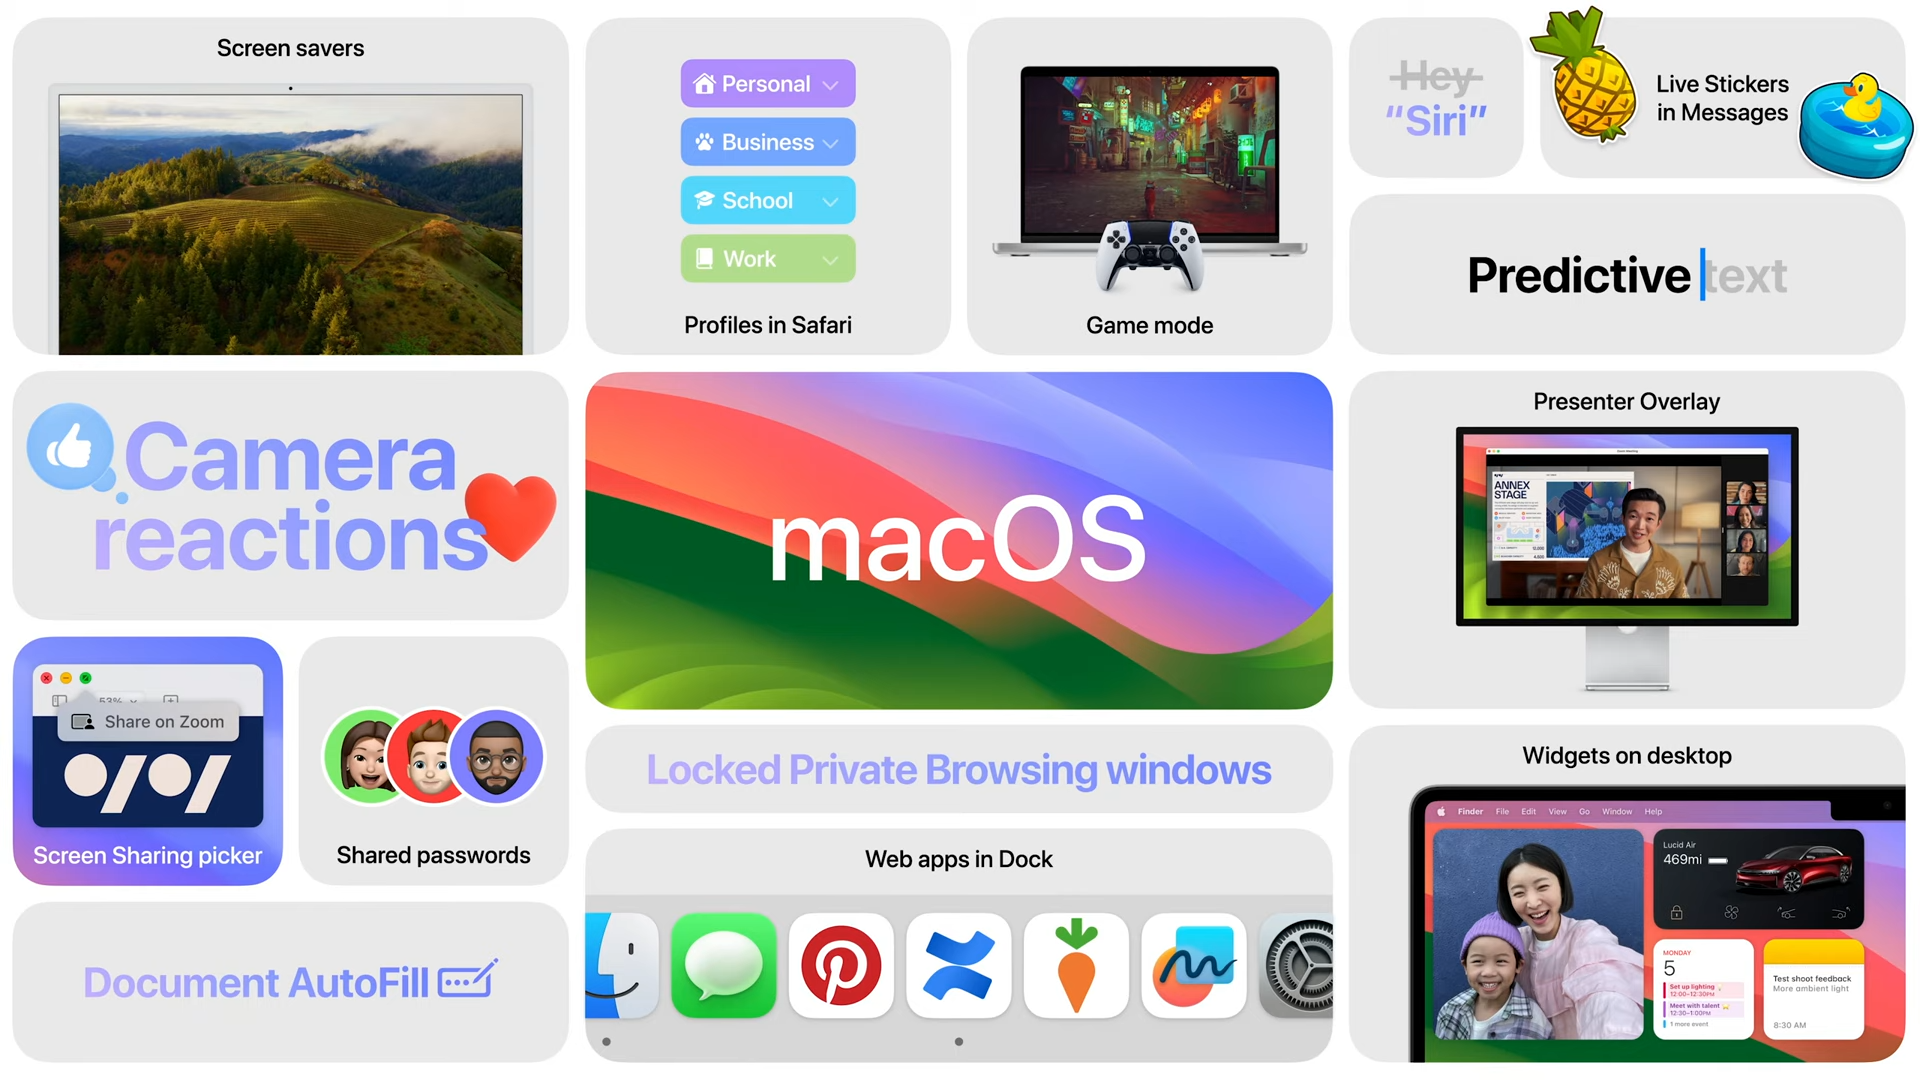
macOS Sonoma’s huge reveal at Apple’s WWDC earlier this year was big news for Apple fans the world over. Since then, Apple’s latest macOS update has been impressing users during its beta release with a host of new features and improvements that sharpen and refine the Mac experience like never before.
However, today marks the day that macOS Sonoma steps out of beta and into full release – meaning we can all finally get to grips with macOS 14 and start to see what all the fuss is about when it comes to Apple’s upgraded operating system.
To help you on your way we’ve put together a short guide on how best to prepare for and how to install the latest version of macOS on your Mac device. But before we dive into the install there are a few things we should keep in mind: compatibility and preparation.
macOS 14 Sonoma: Compatibility and system requirements
If you want to upgrade to macOS 14 Sonoma you’ll have to be working from a supported device and model compatible with today’s update. The following is the official list of Macs capable of playing host to Sonoma when it launches later today:
- MacBook Pro (2018 and later)
- MacBook Air (2018 and later)
- Mac Pro (2019 and later)
- Mac Mini (2018 and later)
- Mac Studio (2022 and later)
- iMac (2019 and later)
- iMac Pro (2017)
macOS 14 Sonoma: How to prepare for the update
We may not know the exact time of day when Apple makes the macOS 14 Sonoma update available to all, but we do know that you can prepare in advance while you wait to make sure everything goes smoothly and you’re good to go the moment it drops.
Step 1: Back up your Mac
Today’s Sonoma release will be a stable build, meaning it’s highly unlikely to cause any large-scale issues on install. That being said, it’s always wise to perform a backup in advance just in case something doesn’t go to plan. If you need help performing this task, fear not. Check out our guides to backing up your Mac below and we can move onto our next step.
Step 2: Clear some space
Avoid the hassle of last minute decluttering and make sure your Mac has enough space to download and install macOS 14 Sonoma in advance. Keeping the Sonoma beta release in mind, today’s update could be up to 12GB in size. However, you’ll also need additional space in order to perform the install which means a minimum of 24-25GB of space could be required.
Once again, if you need some direction on how to quickly and easily clear up some space on your Mac you can follow our how-to guide below:

macOS 14 Sonoma: How to install macOS 14 Sonoma
If you’re backed up and have space free to receive the update, we’re now finally good to go. Once the macOS 14 Sonoma update becomes available you’ll be able to initiate the upgrade through Software Update. Let’s go through the process of doing so now:
- Step 1: Click on the Apple menu.
- Step 2: Choose System Settings.
- Step 3: On the left-hand side of the System Settings window, click General.
- Step 4: On the right-hand side of the window, select Software Update.
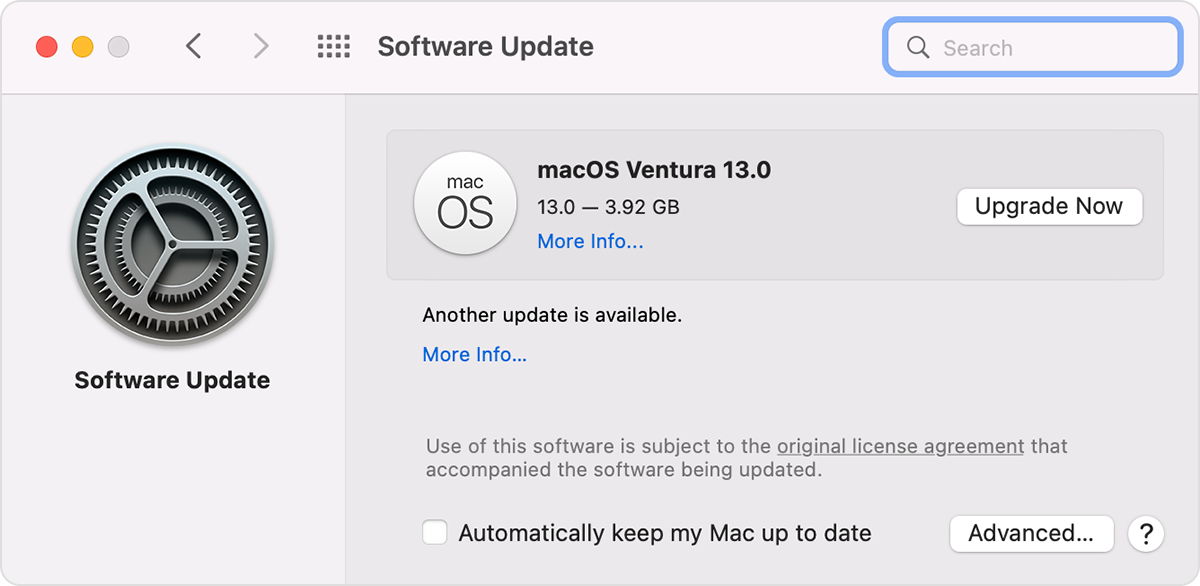
From here you will be able to see the latest update currently available for your Mac. Keep an eye out for macOS Sonoma 14.0 appearing in this section. Once the update is released you’ll be able to click the button that says “Upgrade Now” to kick-start the process.

Follow all on screen instructions from here and enjoy macOS 14 Sonoma once the upgrade is complete!
Note: Can’t see Software Update? Use the Spotlight search in the top right corner of the screen to search for “Software Update,” and select it from the results.
If you still can’t find the app, you may be on an older version of macOS without this feature. In this instance, you’ll need to use the App Store instead. Simply open the App Store and click Updates or search for Sonoma to access the update directly.
Source link
 notebook.co.id informasi dan review notebook laptop tablet dan pc