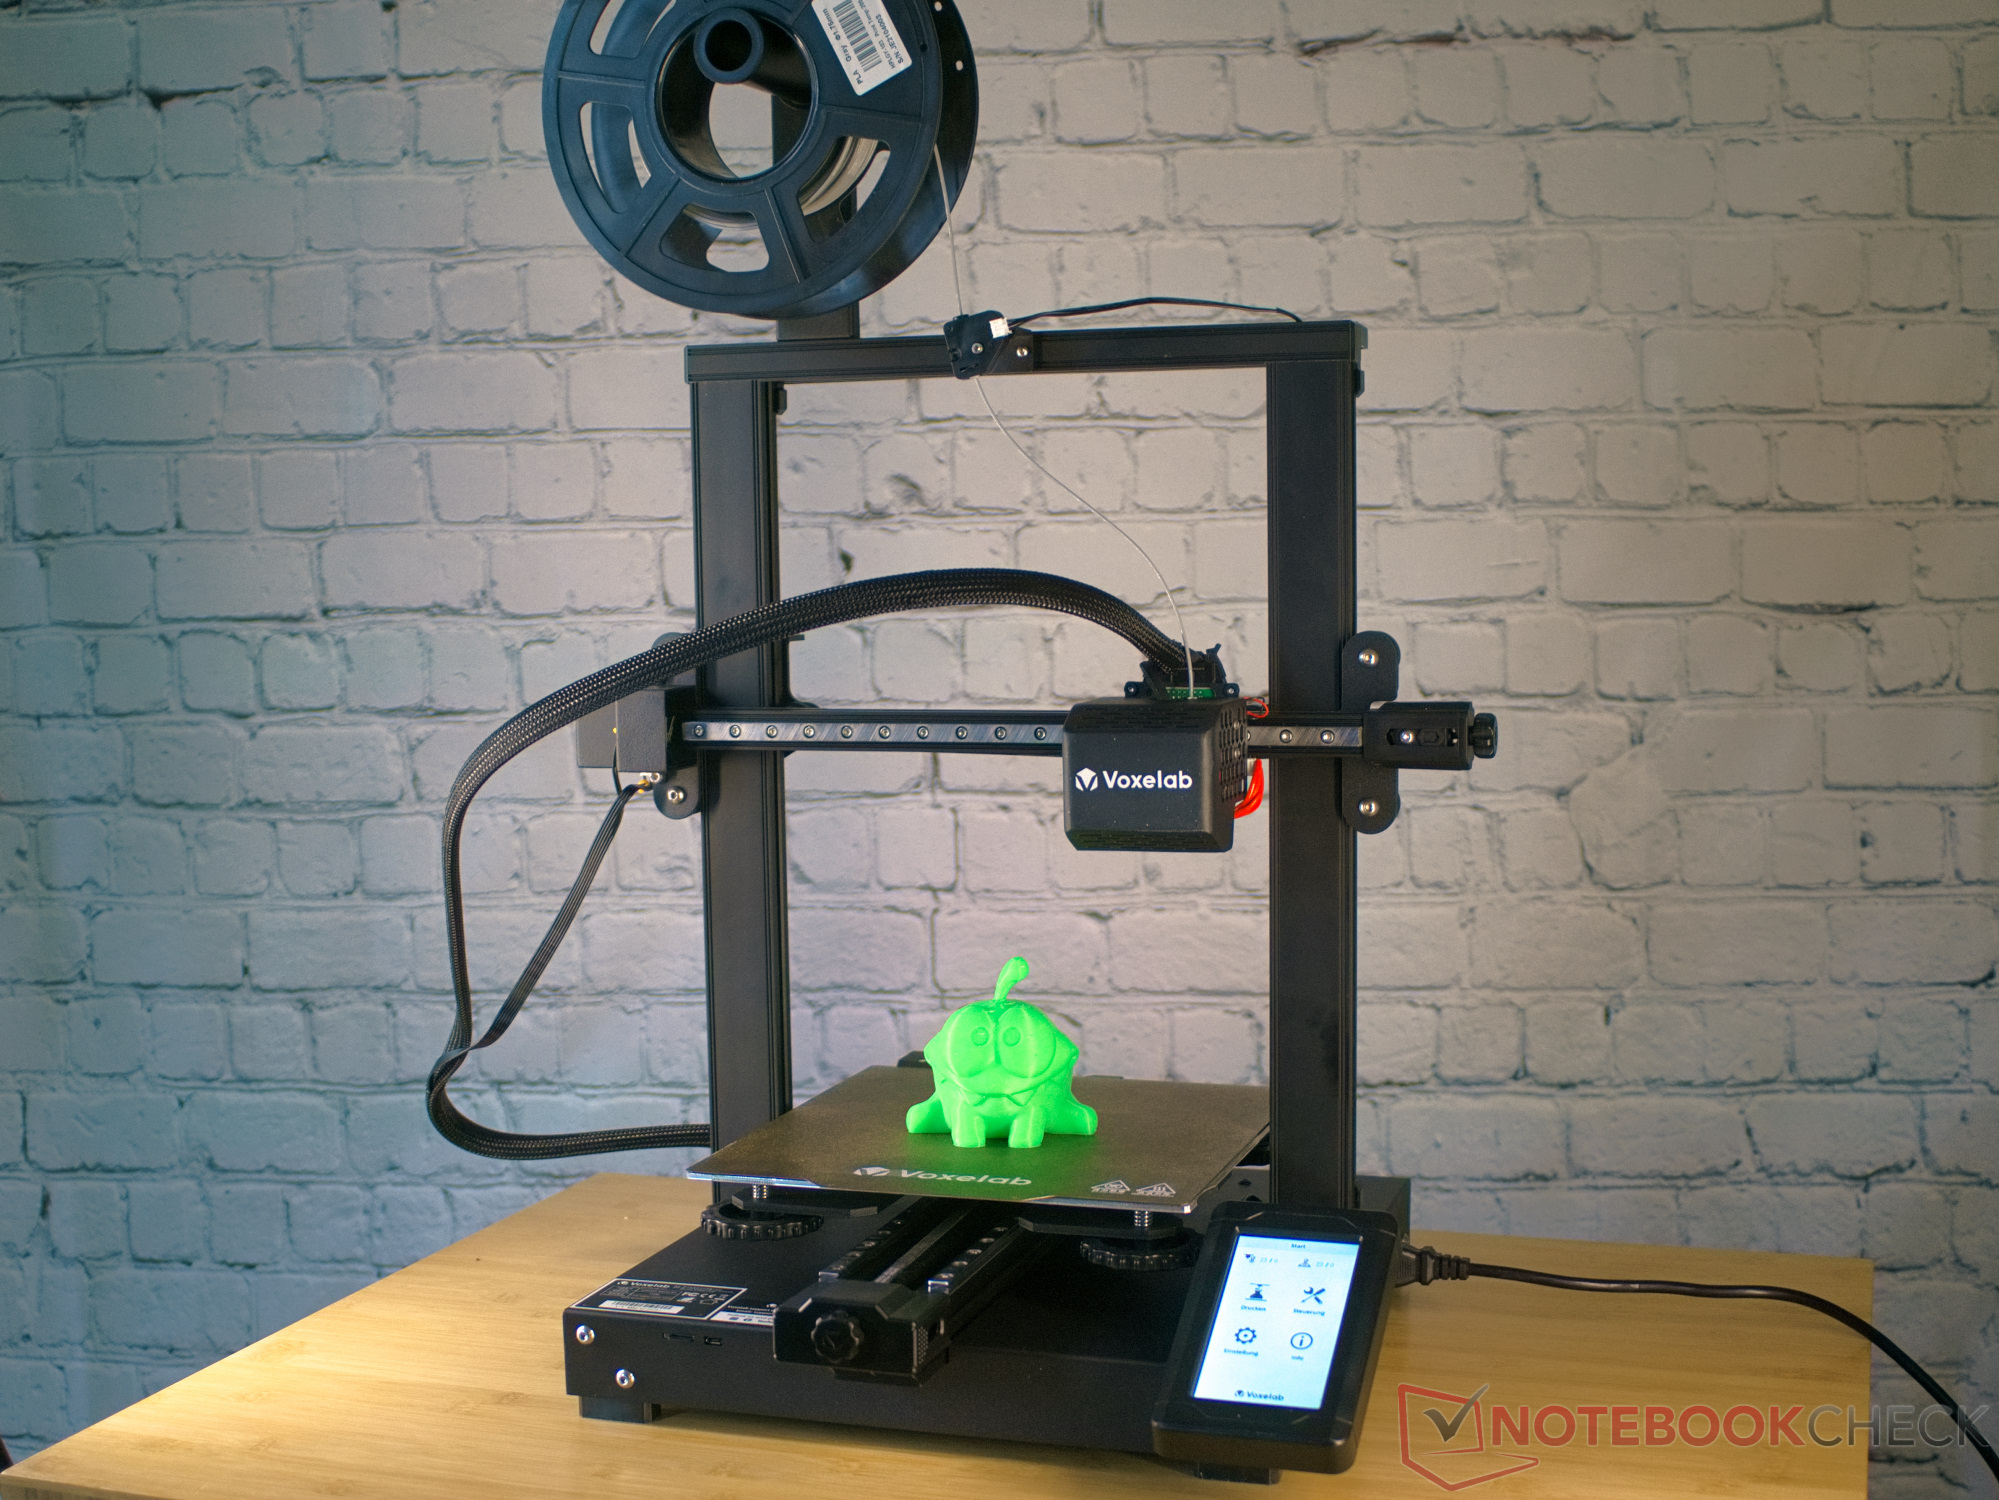
Like most 3D printers, the Voxelab Aquila D1 comes in parts. Aquila includes the tools for assembly right away and packs a few small items in the box that might be useful for later operation. As with most 3D printers of this type, assembly is not particularly complicated. Voxlab also includes a clear instruction manual. At most, the assembly of the archway is a bit fiddly, as the screws have to be screwed in from below here, as usual. We find that all parts fit together parallel and at right angles right away. So after we have adjusted the belt tensions on the two set screws and aligned the print bed with the four set screws to the print head, we can start commissioning the new machine.
That means first running through the automatic mesh bed leveling. At around eight minutes, this process takes a bit longer than with other devices. However, the 3D printer also misses the heated print bed and needs four minutes alone to get up to operating temperature.
For the first test, we chose the typical 3D-Benchy. The gCode for it came from Voxelab on the included microSD. Unfortunately, a design or manufacturing flaw of the Aqulila D1 becomes apparent here: The heated print bed also radiates its heat downwards. This causes the component to which the linear bearings and the print bed are attached to expand. The linear guides underneath remain cool, and the thermal expansion causes mechanical stresses because the MGN bearings cannot compensate for the expansion. As a result, the print bed can no longer move freely, step losses occur, and the print model is printed offset. The keyword here is layer shift.
Our first repair was, therefore, due before we had even finished the first print. The solution to the problem was relatively simple. One of the two parallel linear rails had to be given a minimal amount of play to compensate for thermal expansion during operation. To do this, it was sufficient to loosen the screws on the right rail. A delicate touch is required here because the screws must be loosened just enough to allow the rail to move slightly in the plane, but not so far that it can lift off the plane-milled base. For the technically savvy readers, there must have been a mistake made here during the 3D printer manufacturing process. The screws of the right rail are tightened with too high a torque. This results in two fixed bearings. The way Voxelab has milled the aluminum extrusion, the right rail is intended as a floating bearing. However, the choice of screws and tightening torque prevents this. Our solution cannot be a permanent one, however, since the position of the screws must be checked again and again. In the long term, we should switch to PTFE washers here. To reduce temperature fluctuations under the pressure bed, it also makes sense to use pressure bed insulation (around 10 euros on Amazon). This also saves energy.
After the modification, the Voxelab Aquila D1 ran well. The problems with layer shifts were solved for the time being.
Source link
 notebook.co.id informasi dan review notebook laptop tablet dan pc