The weekend is finally here and there’s no better time to jump into God of War Valhalla, a roguelike narrative adventure and the first and only DLC God of War Ragnarök has received since launch. This is it, gamers. This is the finale of God of War Ragnarök — at least until Santa Monica Studio decides to release another DLC.
We’ve already covered how to start God of War Valhalla and how to save in God of War Valhalla. But now it’s time to learn how to survive God of War Valhalla. If you’re a high-challenge fiend like me, you’ll be smashing that Show Me Mastery difficulty when it pops up. It’s a great choice for those that are skilled enough because you get a 40% boost to rewards earned in Valhalla.
I’ve spent long enough in the halls of Valhalla to help guide you along. Here are 5 tips to beat God of War Valhalla on Show Me Mastery.
1. Just keep going
No, you cannot beat Valhalla in one run. You may be tempted to wash out during a run just to upgrade your build because you’ve collected enough currency to do so, but don’t! God of War Valhalla has certain thresholds, and once you meet those thresholds, you get thrown back to the shore (the beginning).
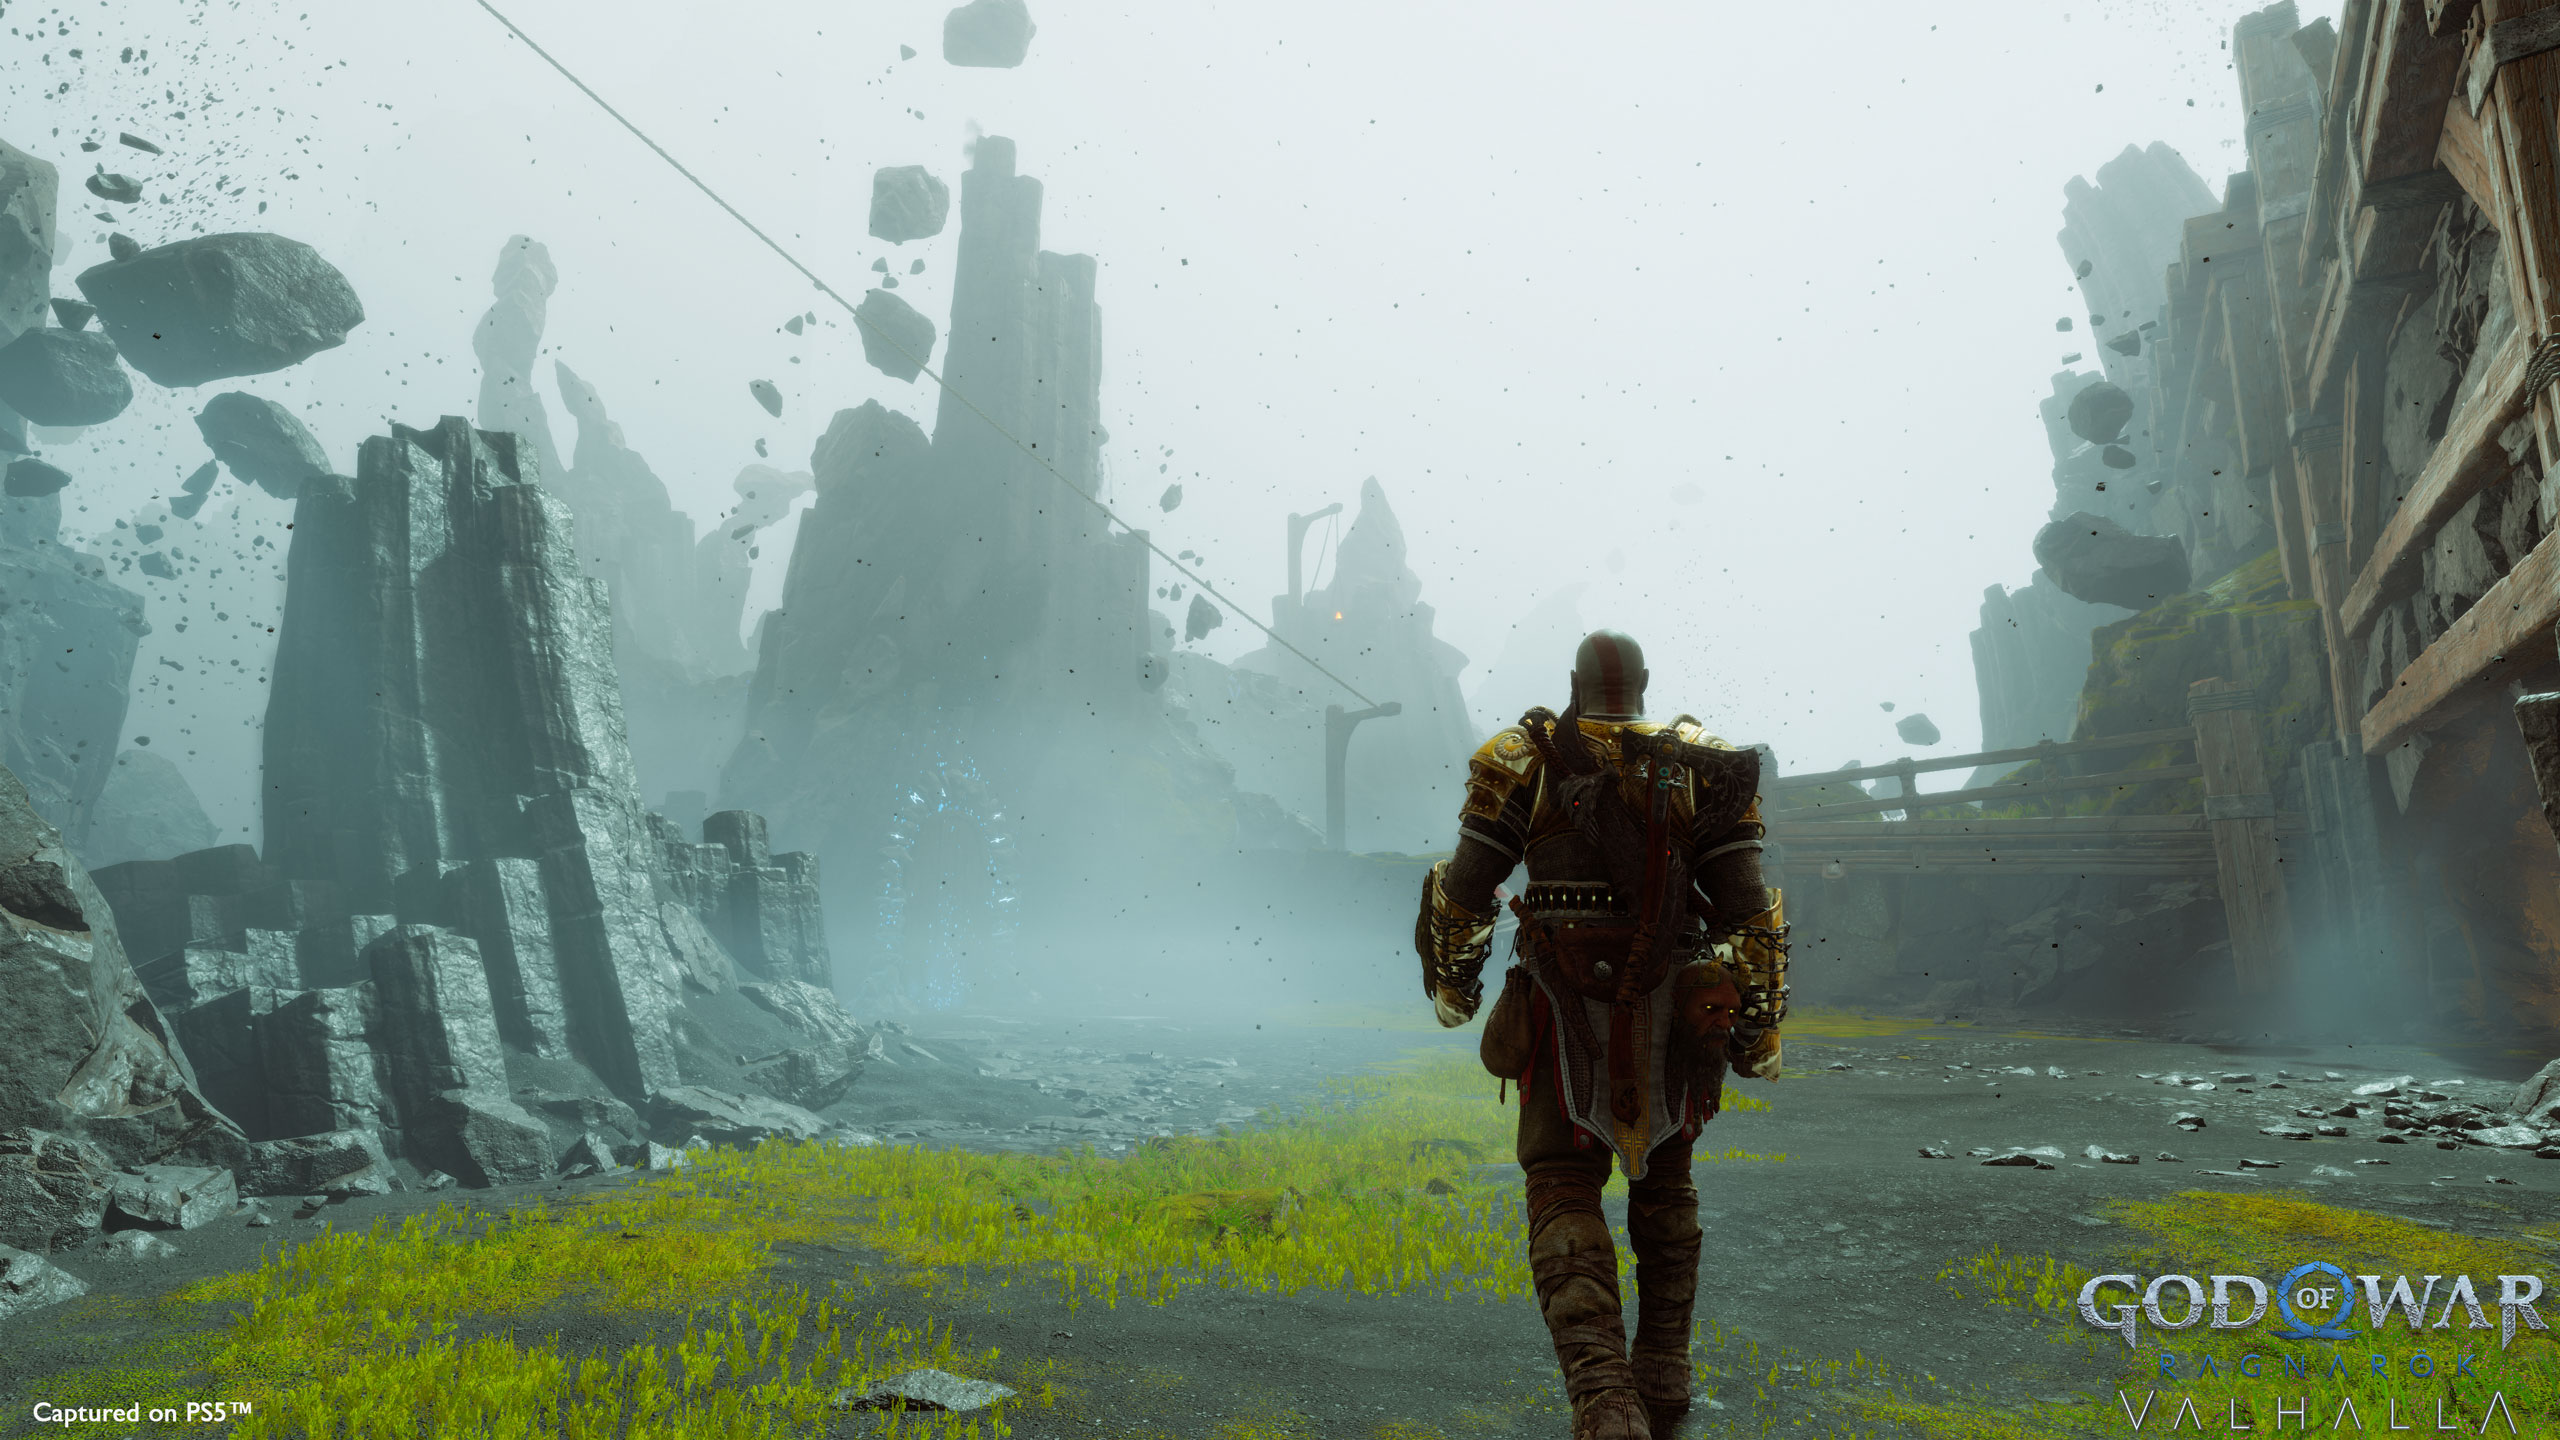
However, you will unlock more gameplay elements and more upgrade systems as you hit those thresholds. So while the beginning of Valhalla may seem scarce and difficult, it will get easier as you go along. You just have to hit those thresholds to earn more mechanics. So just keep going, otherwise some of these other tips might not even be relevant yet.
2. Diversity is rewarded
It’s as simple as that. God of War Valhalla throws Mastery Seals and Spirit Seals at your feet when you add variety to your runs. It’s one of the first things the game tells you, but if you never looked at the menu, that may be a bit confusing at first.
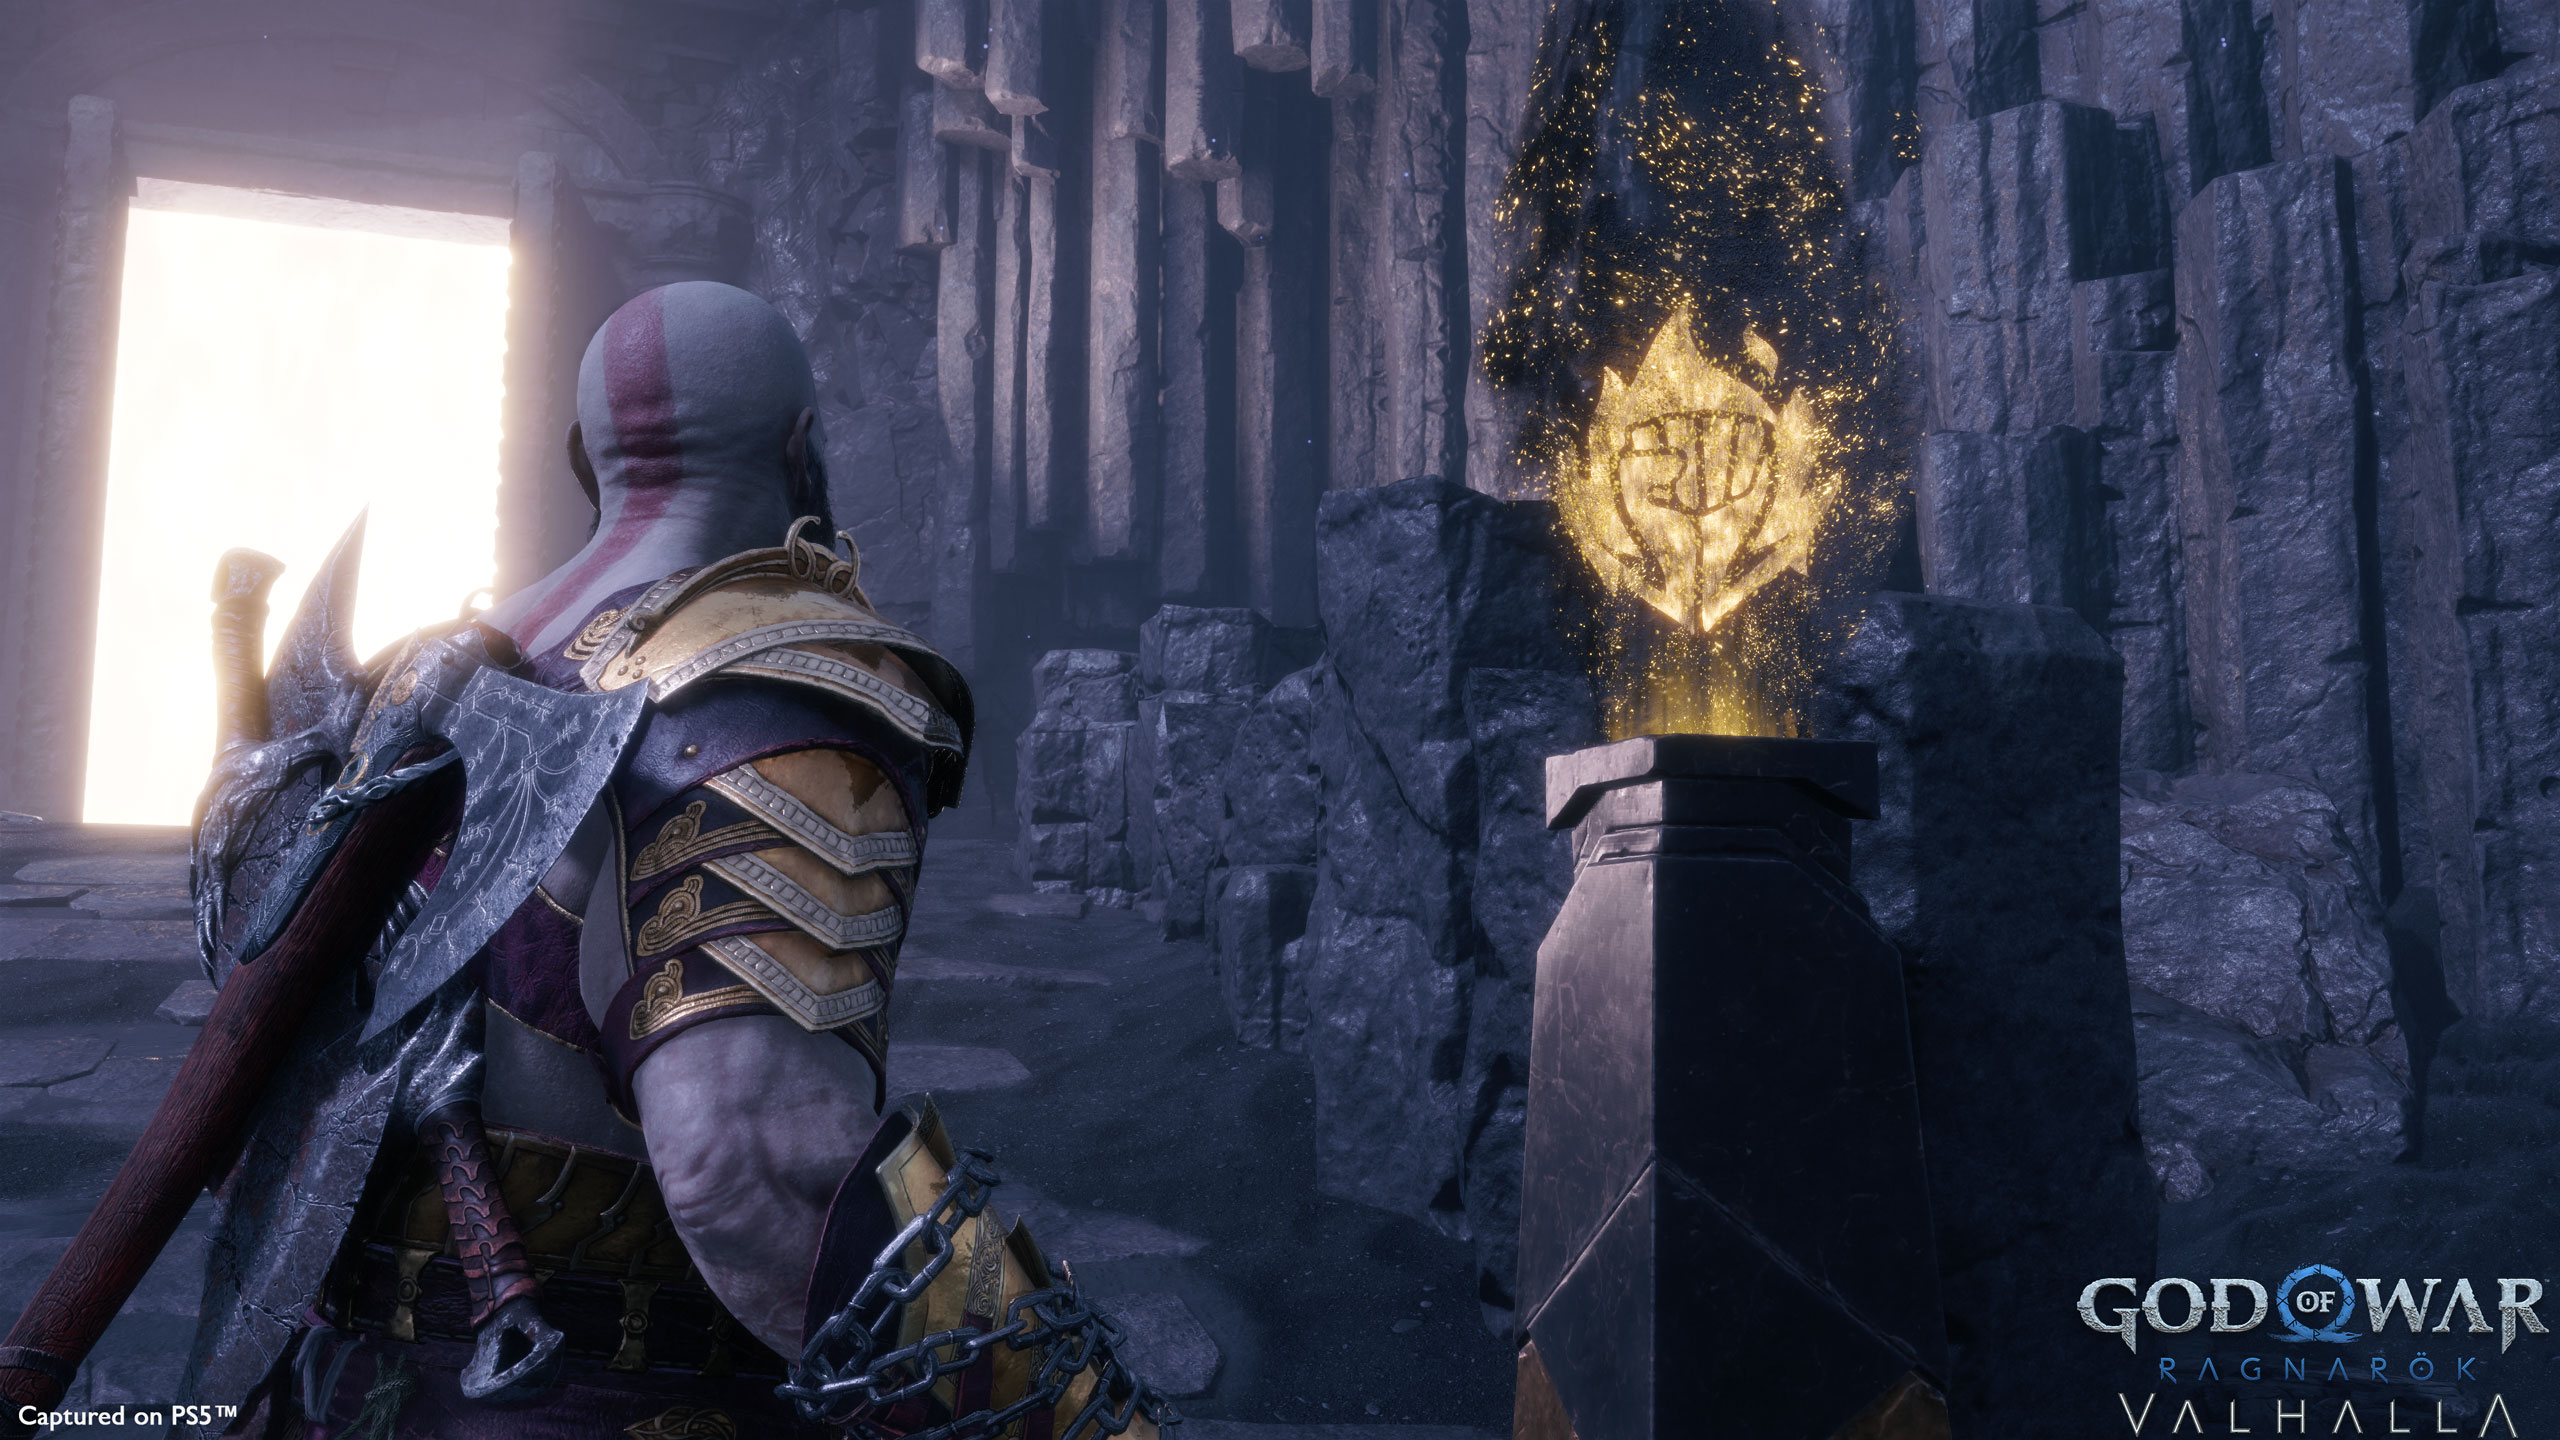
Even at the beginning, you’ll get Mastery quests to acquire sets of runic abilities for all your weapons, go through each kind of door, and even upgrade your stats. You can turn these quests in at one of the two Valkyries for monetary rewards and a little narrative bonus. An easy way to complete a chunk of them is to consistently choose Runic Attack doors. When you complete the room and choose your Runic Attack you’ll see the side quest symbol next to the one you haven’t gotten yet.
Before each run (once you’ve hit a certain threshold), you’ll get to choose a Shield, Rage, and Relic. You’ll get bonus Mastery Seals or Spirit Seals for the run if you choose whichever the game selected for that run. It may be tempting to stick to what you know, but trust me — learn how to adapt sooner rather than later. This’ll keep the money flowing and your upgrades upgrading.
The first upper realm you visit will be based on the weapon you choose to main. This will also affect the crests that are available to purchase at the first Tablet of Endeavor in the upper realms (this is important for Divine Triumphs, which I talk about later). I won’t spoil which weapon gets you where, but if you’re wondering why you haven’t seen all the nine realms yet, that’s it.
3. The best upgrades
Strength and Defense are without a doubt the best upgrades that you can focus on in the beginning of Valhalla at the Tablet of Reflection. Start ranking up your Health and Rage once the former starts becoming too expensive. And if you haven’t made it to the next threshold, you can start working on your other stats.
However, once you get to the point where you can actually spend Spirit Seals at the Tablet of Influence, you’ll want to focus on the abilities that increase your odds for certain effects. Any chance is better than zero chance. Dump at least one level into the Light and Heavy Runic Upgrade skills as well as the Glyph Reward Offerings. Then focus on your Starting Echoes — even the smallest amount is a big difference in the early runs. And to increase your passive income, get the Mastery Seals and Spirit Seals Pot Increase.
When the Tablet of Reflection gets upgraded, the first thing you’ll want to get is the Starting Resurrection Stone. That is critical for keeping your run going when things go south. And when the Tablet of Influence gets upgraded again, start shooting for upgrades that increase the amount of Echoes and Seals you earn per fight.
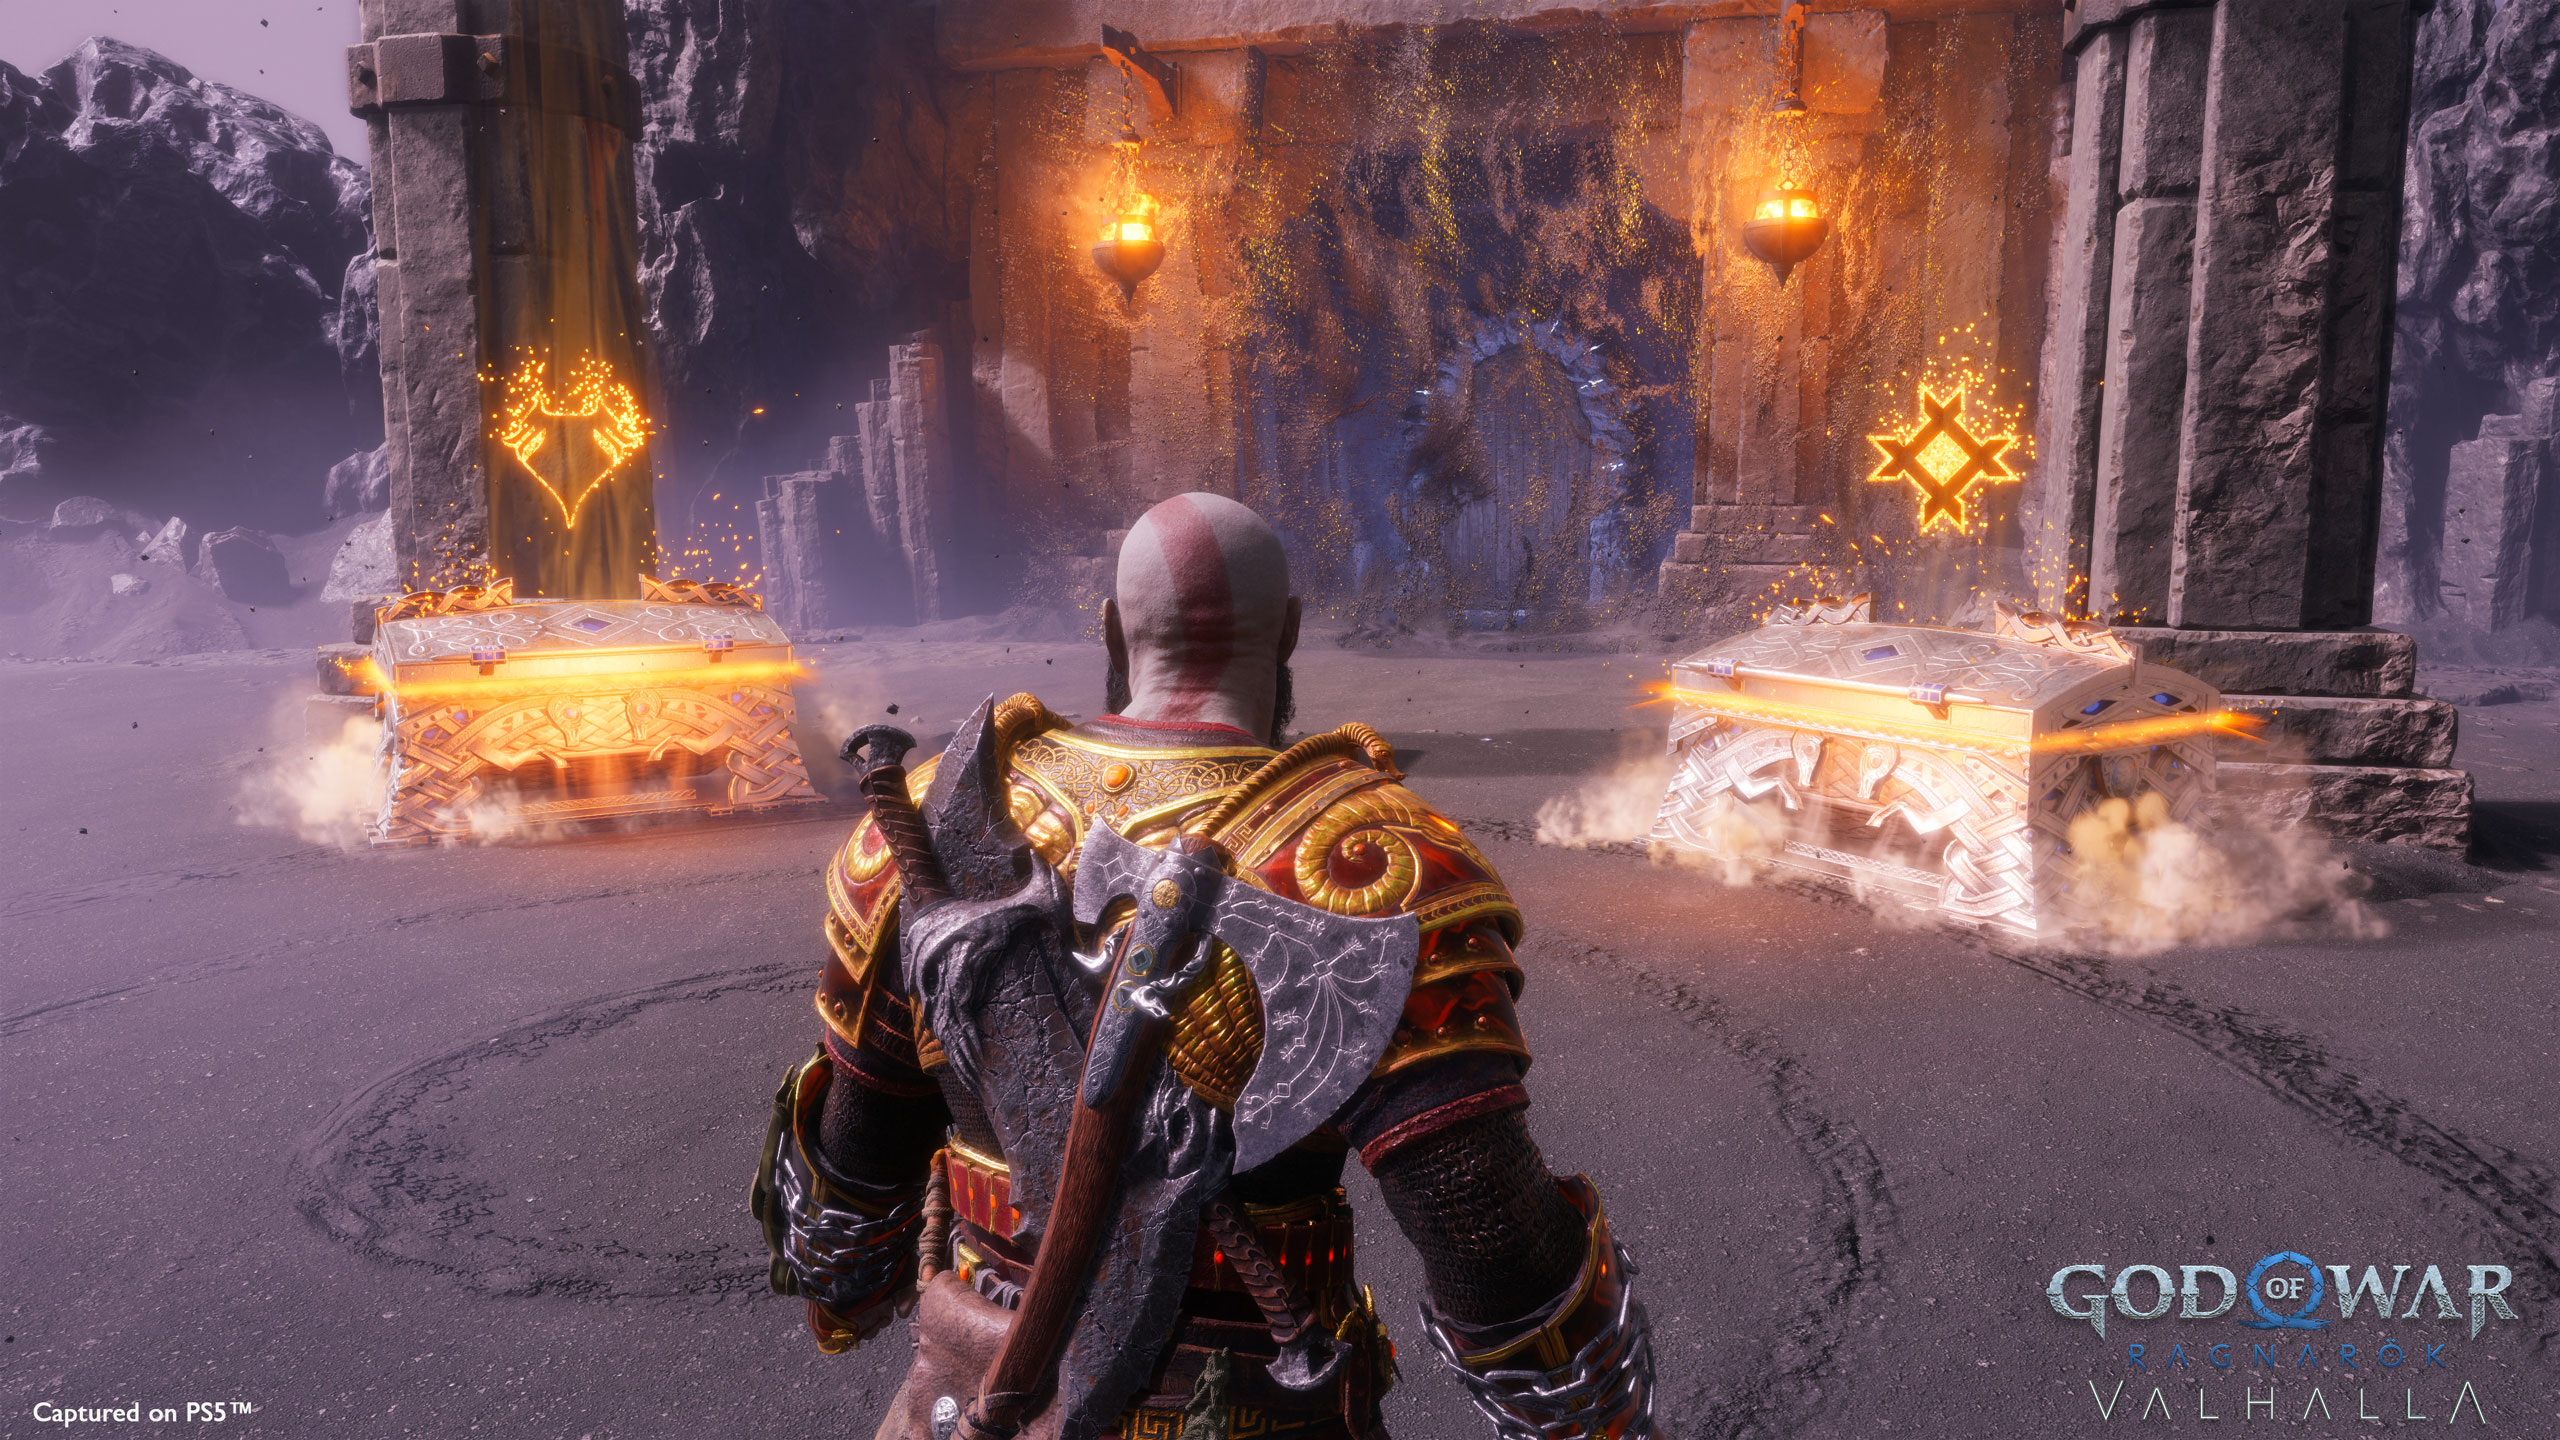
At this point, you’ll likely have access to Sanctuary Barrier Keys. Buy as much as you can and use them at least once per area. Pick advantageous chests to really fill out your build for the following runs. Remember, they are permanent, so choose wisely. As I’ve learned the hard way, the Mastery chests are one time use only, so you can’t farm those seals. However, I recommend going for the Relic chests first — that’s the only way you’ll unlock them at the shore. (If you’ve run out of Sanctuary Barrier Keys, there’s a chest in the upper realms that guarantees 2 keys — you can also buy a limited stock at the Tablet of Endeavor in the upper realms.)
If you’ve gotten this far, you’ve probably figured out your build already, so just keep up with the first unlocks and prioritize those critical stats.
4. Where to spend your Fleeting Echoes
You’ll be accumulating tons of Fleeting Echoes each run. Sometimes you can afford things, and sometimes you can’t. What should you prioritize? If you’re still in the lower realms of Valhalla (before you beat the Proving Grounds), then don’t worry too much about your spending. Do what feels right for that run.
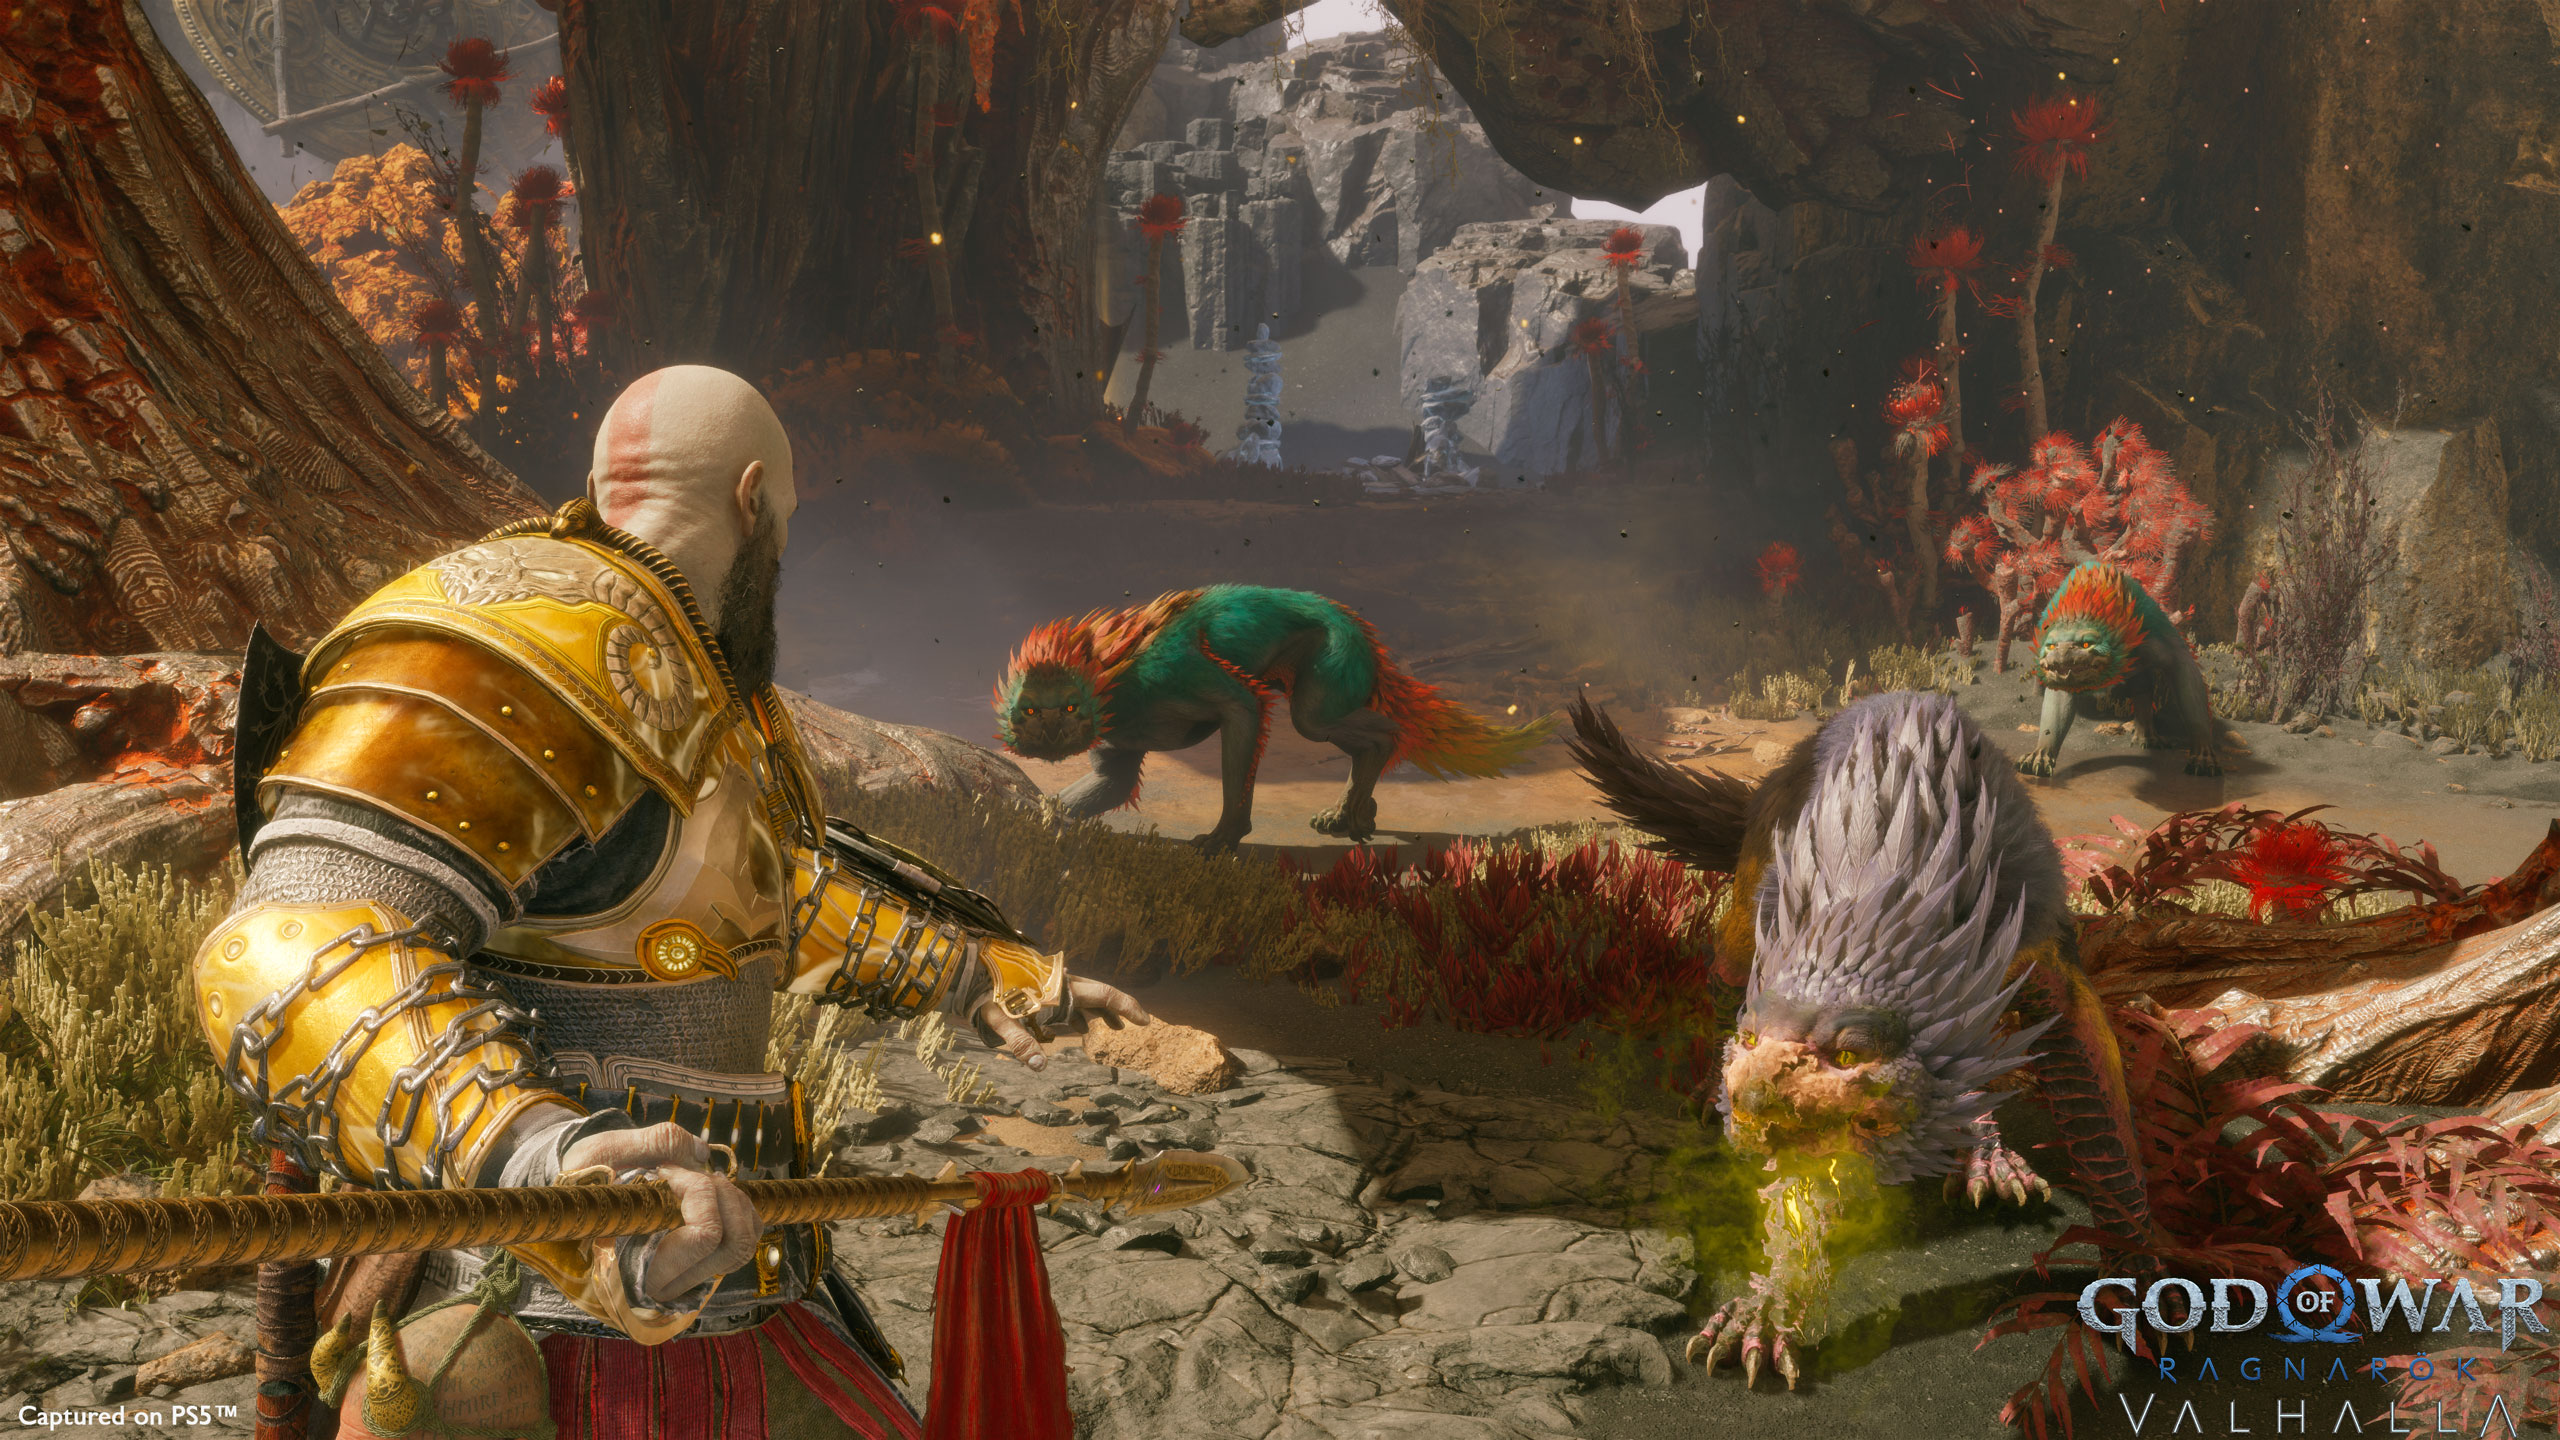
However, if you’ve already gotten past the Proving Grounds, that’s where spending becomes critical. Firstly, you’ll want to end the Proving Grounds with at least 220 Fleeting Echoes. In the next area is a Tablet of Endeavor that sells an upgrade for your base weapon damage for exactly 220. If you don’t have enough, there are a few pots in the area you can destroy, but you’ll miss this upgrade completely if you move on.
When you’re in the upper realms of Valhalla, this is where you’ll accumulate tons of Fleeting Echoes and it’s where you’ll do the most spending. Go all out. Buy all the upgrades you can. And if it’s available, purchase Divine Triumphs (if the chest isn’t there, you’re not far enough). After this section, there will be another boss, so prepare yourself by stocking up on what you can, especially if this is your first time here. Thresholds are ahead.
Once you’ve unlocked Relics, you’ll also want to purchase specific Relic unlocks at the Tablet of Endeavor in the upper realms with Fleeting Echoes. You’ll also unlock more chests as you go along in the upper realms — for example, a chest including a unique armor set costs 15,000 Fleeting Echoes. That armor set chest will reset with more pieces until you’ve unlocked them all — they will also earn you Divine Triumphs.
5. Prepare for Divine Triumph
At some point you’re going to be swimming in Mastery Seals and Spirit Seals, but there’s another vital currency that’ll dry up very quickly — Divine Triumph.
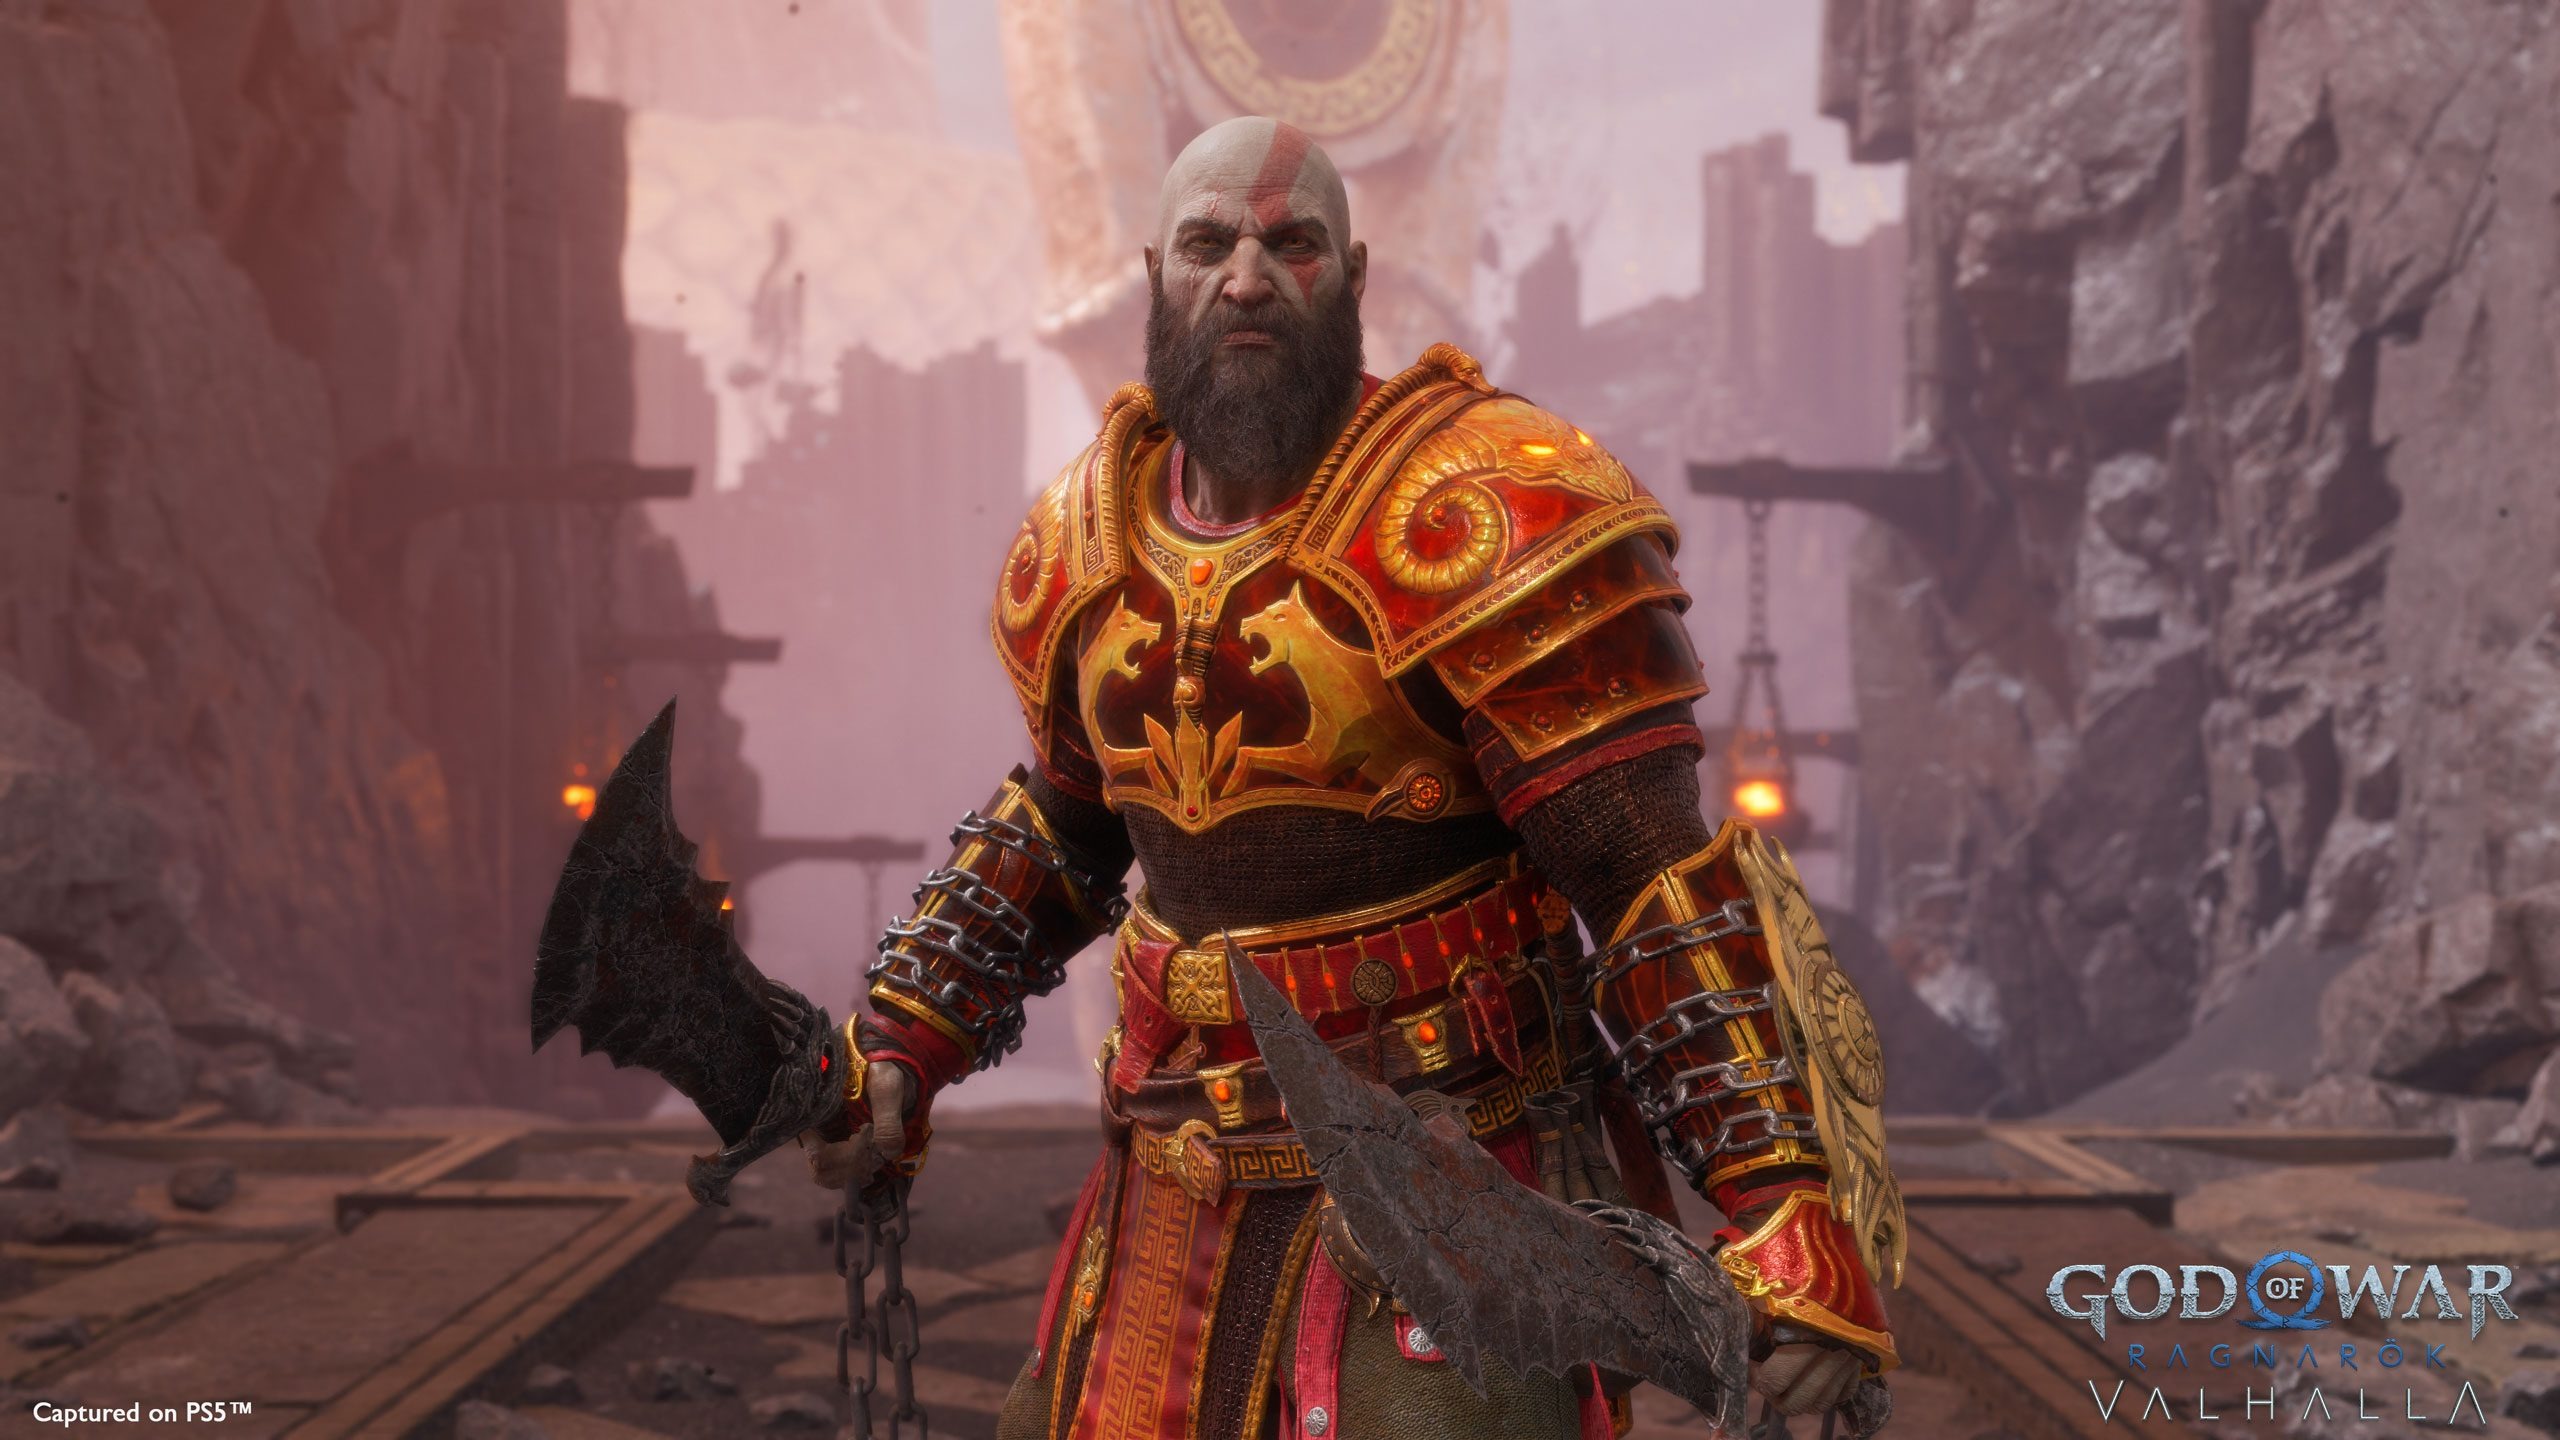
There are a small number of Divine Triumphs you can earn through Mastery quests and through each run. You’ll get them by hitting thresholds, but at some point, you’ll need dozens to rank up all your skills. So you’ll need to focus on optimizing your runs to earn them.
You’re guaranteed Divine Triumphs every time you finish a run, but you can also purchase 3 Divine Triumphs in the upper realms. There’s a Divine Triumph chest that’ll give you 1 for 1,000 Fleeting Echoes, and the armor chest will give you 2 for 15,000 Fleeting Echoes. The Echoes are easy to earn if you’re tearing through Valhalla’s chosen in the upper realms. So even if you fail during the boss of the upper realms, you should be able to grab at least 3 Divine Triumphs.
You can also buy Divine Triumphs on the shore. However, they cost 1 of each crest — Leviathan, Chaos, and Draupnir. As stated in my diversity tip, you can purchase one crest at the first Tablet of Endeavor in the upper realms — it costs 200 Fleeting Echoes. However, you can also receive crests from completing Mastery quests and going through the question mark doors. In the question mark doors, you’ll have to complete the runic chest puzzle to get some crests, but they’ll be associated with the weapon you’re using.
Source link
 notebook.co.id informasi dan review notebook laptop tablet dan pc